


Posted inVector Art
The Art of Vector Layering: How to Build Complex Illustrations Step by Step
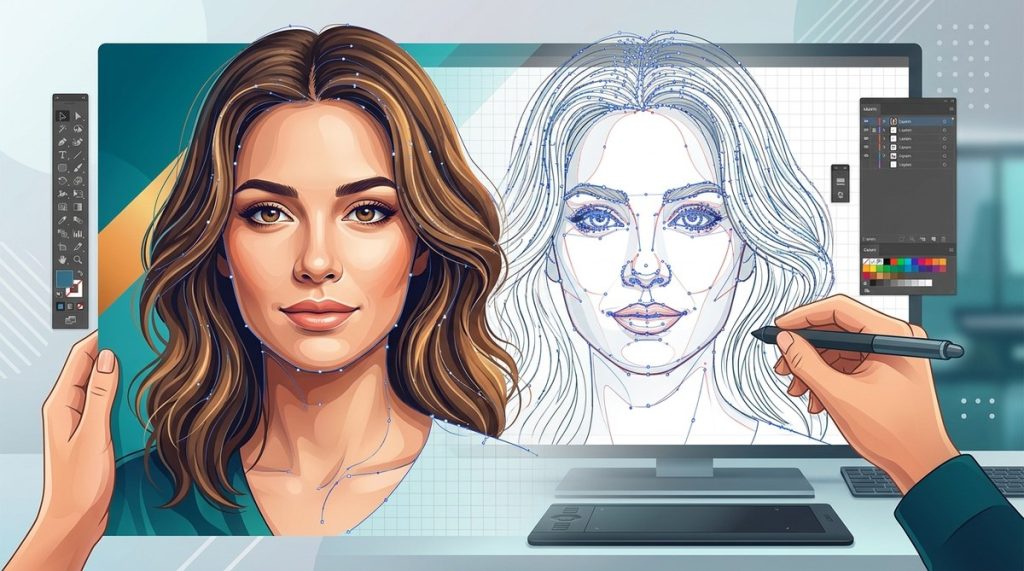
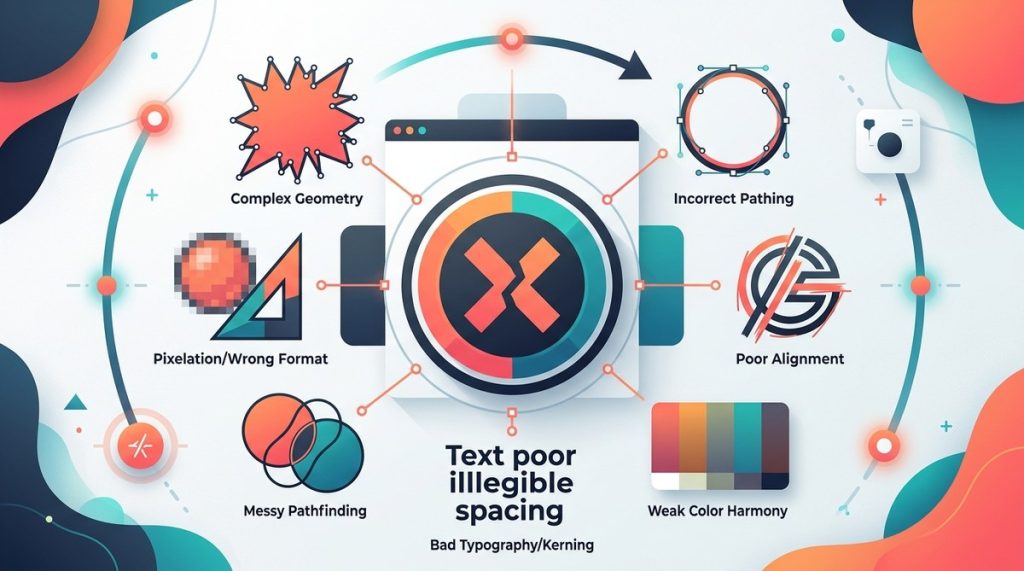
Every great vector illustration starts with a single shape. But that one shape quickly becomes ten, then fifty, then hundreds. If you have ever opened a file from a few months ago and felt confused by...